一、前言
Cloudflare 在今年的九月份推出了 Workers AI,Cloudflare 全局网络的无服务器 GPU 驱动推理。
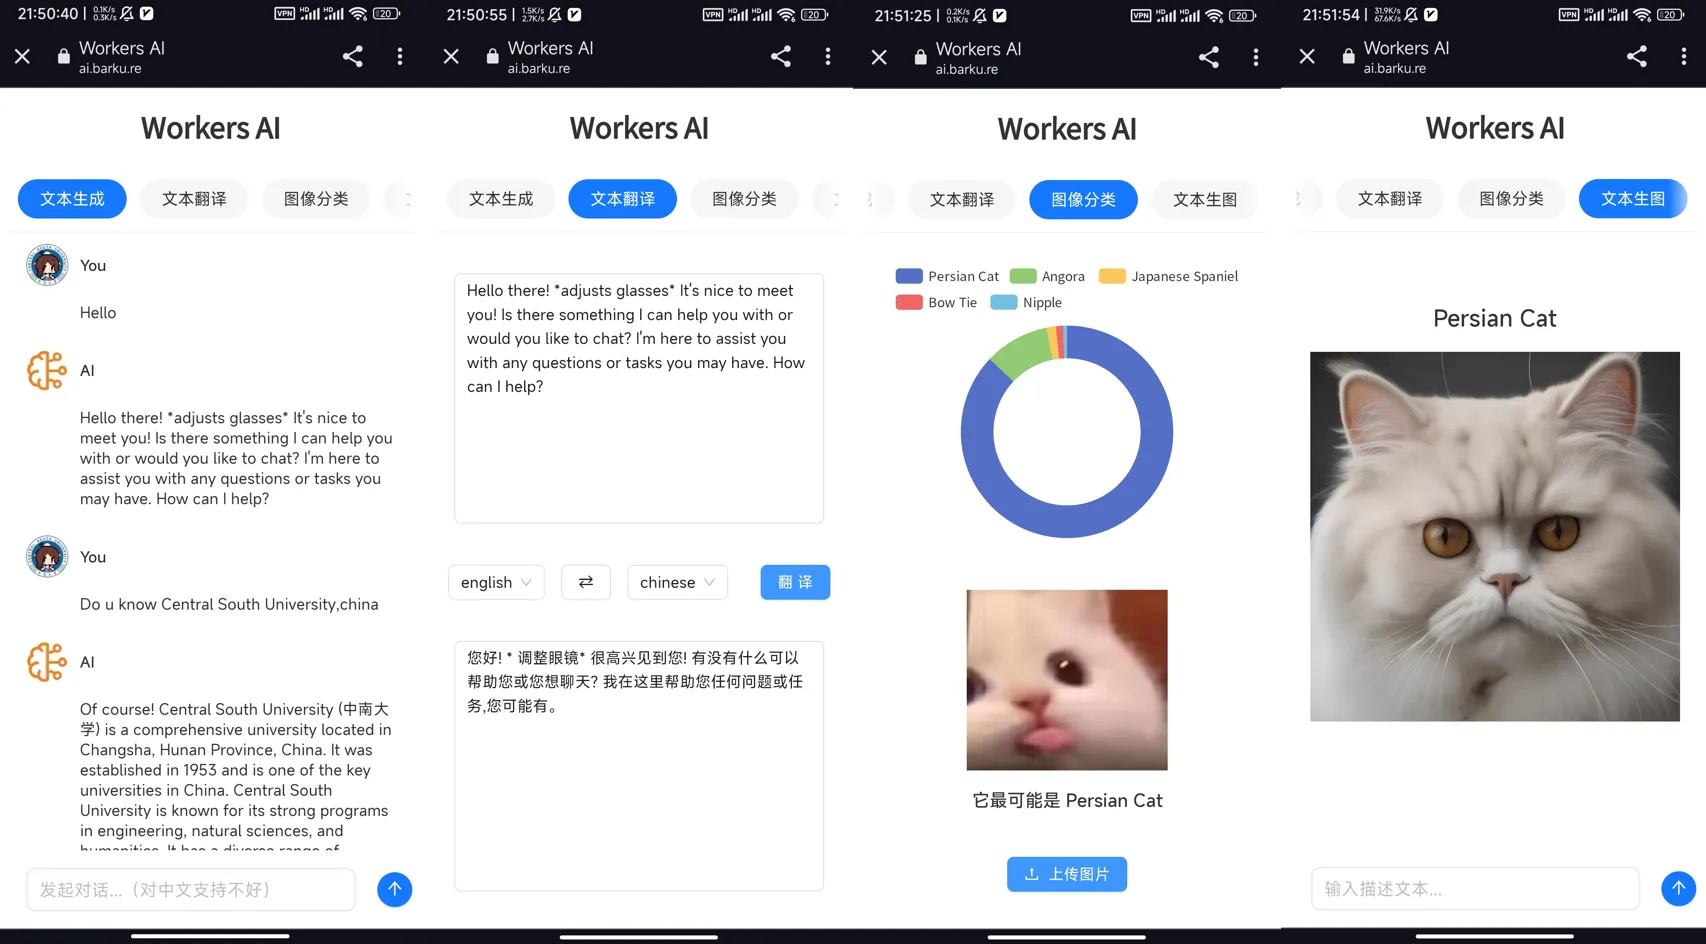
最近几天使用 Cloudflare Workers AI 的 API 写了个具有多种 AI 模型的网站项目:workers-ai,演示网站:https://ai.barku.re
二、功能
- 文本生成(@cf/meta/llama-2-7b-chat-int8)
- 文本翻译(@cf/meta/m2m100-1.2b)
- 图像分类(@cf/microsoft/resnet-50)
- 文本生图(@cf/stabilityai/stable-diffusion-xl-base-1.0)
三、截图展示
四、技术细节
由于个人技术力低下,实现过程中还是遇到了不少问题,此处加以说明:
- 问题一
此处以 Cloudflare 提供的 Text Generation 模型 @cf/meta/llama-2-7b-chat-int8 为例,下面是其文档中使用 Python 请求 API 的一个示例:
1
2
3
4
5
6
7
8
9
10
11
12
13
14
15
16
17
| import requests
API_BASE_URL = "https://api.cloudflare.com/client/v4/accounts/{account_id}/ai/run/"
headers = {"Authorization": "Bearer {API_TOKEN}"}
def run(model, prompt):
input = {
"messages": [
{ "role": "system", "content": "You are a friendly assistant" },
{ "role": "user", "content": prompt }
]
}
response = requests.post(f"{API_BASE_URL}{model}", headers=headers, json=input)
return response.json()
output = run("@cf/meta/llama-2-7b-chat-int8", "Tell me a story")
print(output)
|
代码很好理解,值得注意的是,在请求头中有一个 Authorization 授权,其中包含 {API_TOKEN}。
这个 TOKEN 放在前端是不合适的,此处对 Cloudflare Workers AI 的 API 进行反代解决此问题。下面是一个可能的 Nginx 配置:
1
2
3
4
5
6
7
8
9
10
11
12
13
14
15
16
| add_header 'Access-Control-Allow-Headers' 'Origin,X-Requested-With,Content-Type,Accept,Authorization,token' always;
add_header 'Access-Control-Allow-Origin' 'https://ai.barku.re';
if ($request_method = 'OPTIONS') {
return 204;
}
location / {
proxy_pass https://api.cloudflare.com/client/v4/accounts/abcdef/ai/run/;
proxy_set_header Host $proxy_host;
proxy_set_header X-Real-IP $remote_addr;
proxy_set_header Authorization 'Bearer 123456';
proxy_set_header X-Forwarded-For $proxy_add_x_forwarded_for;
}
|
- 问题二
Vercel 支持部署 React 项目,但是如果还要自己反代 API 就有点麻烦了,实属不够优雅。
在一番搜寻后,发现 Vercel 的 Serverless Functions 支持运行代码,它支持 Node.js、Python、Go、Ruby 等运行。
使用方法也很简单,在项目的根目录新建文件夹 api/,在这个文件夹里编写函数就可以了。此处以本项目中的 api\proxy.js 为例:
1
2
3
4
5
6
7
8
9
10
11
12
13
14
15
16
17
18
19
20
21
| const axios = require('axios');
module.exports = async (req, res) => {
try {
const path = req.url.replace('/api/proxy', '');
const response = await axios({
url: `https://api.cloudflare.com/client/v4/accounts/{% mathjax %}{process.env.REACT_APP_ACCOUNT_ID}/ai/run{% endmathjax %}{path}`,
method: 'POST',
headers: {
'Authorization': `Bearer ${process.env.REACT_APP_API_TOKEN}`,
},
data: req.body,
timeout: 30000,
});
res.status(200).json(response.data);
} catch (error) {
res.status(500).json({ error: 'Error fetching data' });
}
};
|
此函数实现了对 Cloudflare Workers AI API 的反代。
然后应该将请求的 baseURL 修改为 /api/proxy/。这样用户在 Vercel Deploy 本项目时,添加下面的环境变量即可:
1
2
| REACT_APP_ACCOUNT_ID='abcdef'
REACT_APP_API_TOKEN='123456'
|
此时部署项目,会发现仍无法使用,原因在于 API 请求被路由到了 React 应用,我们需要在 项目根目录新建 vercel.json,内容如下:
1
2
3
4
5
6
7
8
| {
"routes": [
{
"src": "/api/proxy/(.*)",
"dest": "/api/proxy.js"
}
]
}
|
这会将 API 请求路由到 api\proxy.js 。
- 问题三
在使用 Vercel 部署的网站时,会发现文本生图功能不能使用,原因如下:
Cloudflare 对画图模型(@cf/stabilityai/stable-diffusion-xl-base-1.0)的请求返回响应需要二十至三十秒左右,但 Vercel 对单个请求的时长有限制(10s),因此画图基本上不可用。
此问题暂时无解,如需画图,请自行反代 API。